
Guess it’s this time again. In my last instalment, I talked about installing Slackware 8.1 and how it wasn’t the easiest system to use. Upon purchasing the book “Linux for Dummies – 4th Edition”, I decided to try Red Hat Linux 8.0 which was included.
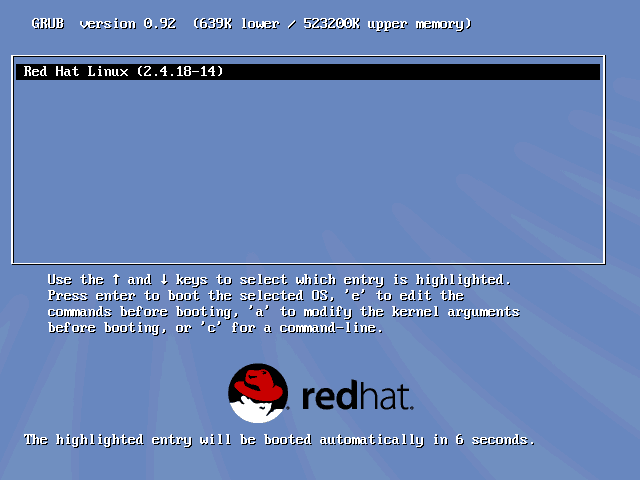
Right from the start, I could see Red Hat would be a different user experience based on the fact that even the boot screen you get when booting off the CD-ROMs shows a nice graphic.
The Boot Screen for Red Hat Linux 8.0
Pressing enter here booted Red Hat up to the graphical Anaconda installer, no command line interface here, and no configuring partitions before running the installer program. So far, so good. Installation is as simple as installing Windows or OS X, using your mouse to change items and clicking the familiar button in the bottom right marked “next”.
The Anaconda installation program.
Red Hat Linux was smart enough to be able to detect the space on your hard drive and automatically configure it. Back in the day though, I was used to partitioning my DOS/Windows systems manually, and I’d just had to do the same with Slackware, so I ended up partitioning Red Hat manually too. These days, I tend to just free up the amount of space I want to dedicate to Linux (if I’m dual booting), and let the installer (whether it’s Ubuntu, Fedora, OpenSUSE, etc.) do the rest. I tend to avoid using a dedicated partition for the home directory simply because, in my experience, I often find I run out of space on the system partition – a problem I’ve also encountered on Windows many times.
Next, it asked what kind of machine I was installing this on, from here, I realised that unlike Windows, Linux systems are easily adaptable for deployment on different systems.
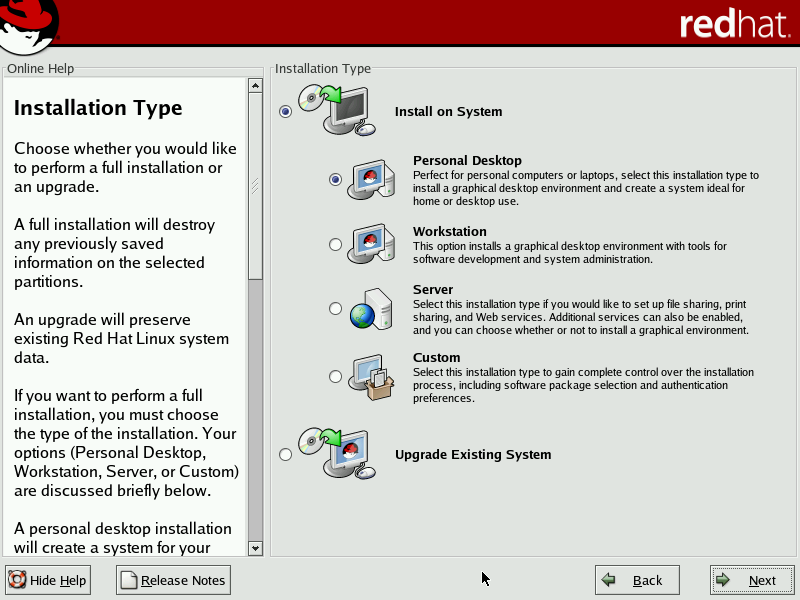
Telling Red Hat I was installing on a desktop computer.
Later came the part of the installation where I had to secure my machine by setting a root password. As I had been corrupted by a life of Windows being always an administrator, I just set the root password and proceeded without created a restricted user account. These days, I wouldn’t dare use root as my everyday account.

Setting the root password and adding my own user.
Here, I’ve added my own user account, as I’m just that paranoid 🙂
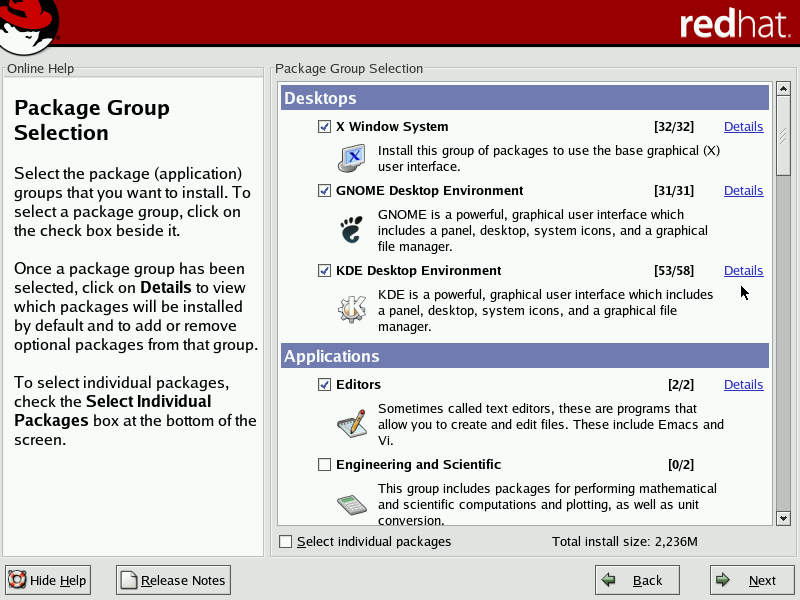
Selecting the packages to install.
Just like with Slackware, I didn’t know which desktop environment I should be going for. Red Hat 8.0, by default, selects Gnome, but as I had been using KDE on Slackware, I installed that along side it.
Now I was ready to install it to my computer.

Installing Red Hat 8.0
During installation, Red Hat shows a small slideshow advertising the great features in their system. In the above screenshot, they are advertising the Bluecurve™ theme. This was a controversial move by Red Hat where they attempted to make KDE and Gnome desktops look similar, the benefit is that anyone looking at the computer would know it was a Red Hat system, but at the cost of not knowing what interface they were using until they tried to use it. I personally didn’t mind Bluecurve, although it did make my KDE interface look noticeably different than that of Slackware, which used KDE’s vanilla style.

Installation complete.
Installation was much quicker than Slackware, which was a bit mind boggling as Red Hat 8.0 spanned two CDs, whereas my copy of Slackware 8.1 was only on one (I didn’t have the DVD version). It was time to reboot into my new system.
The GRUB bootloader.
By default, Red Hat used GRUB over LiLo as it’s bootloader, this is now pretty standard across most Linux distros.
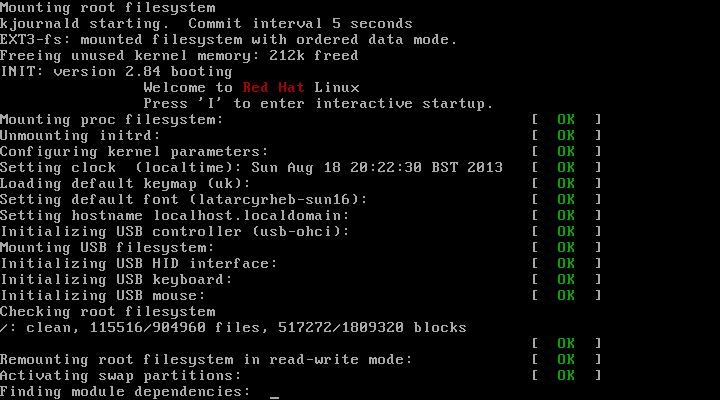
The text boot screen.
Unlike most Linux systems these days, Red Hat 8.0 didn’t have a nice graphical boot startup, this may put off the likes of most Windows and Mac OS X users, but the verbose output does have that geekiness feel to it which is what most people associate Linux with. It wasn’t too long before the system automatically entered graphical mode.
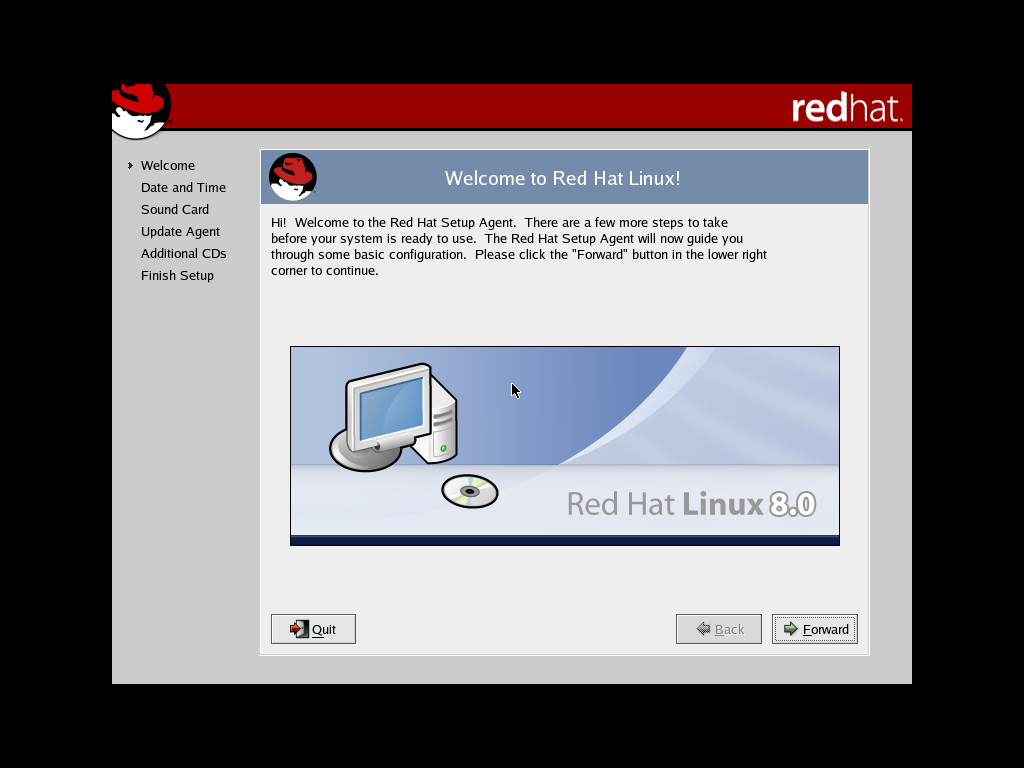
Red Hat’s first boot configuration pages.
Here, there were just a few more little things to set before I could use my new system. Interestingly, unlike Slackware, this managed to detect my sound card.
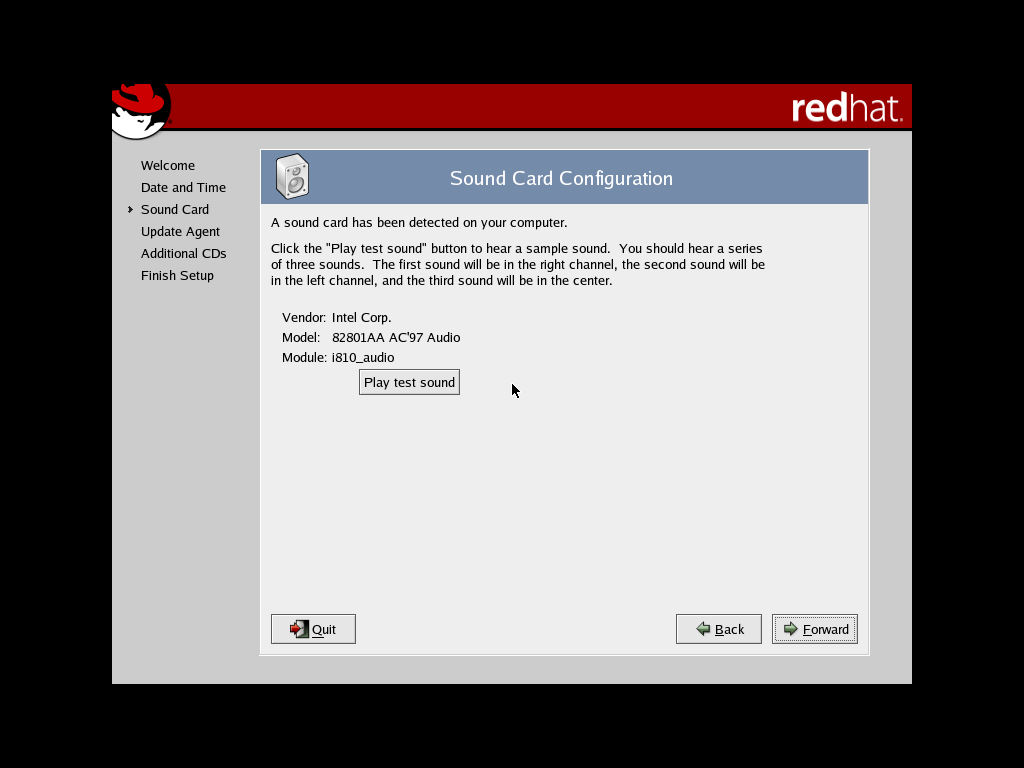
My sound card is detected.
Sadly though, I was still unable to play sound through it. That was something I had to deal with later.
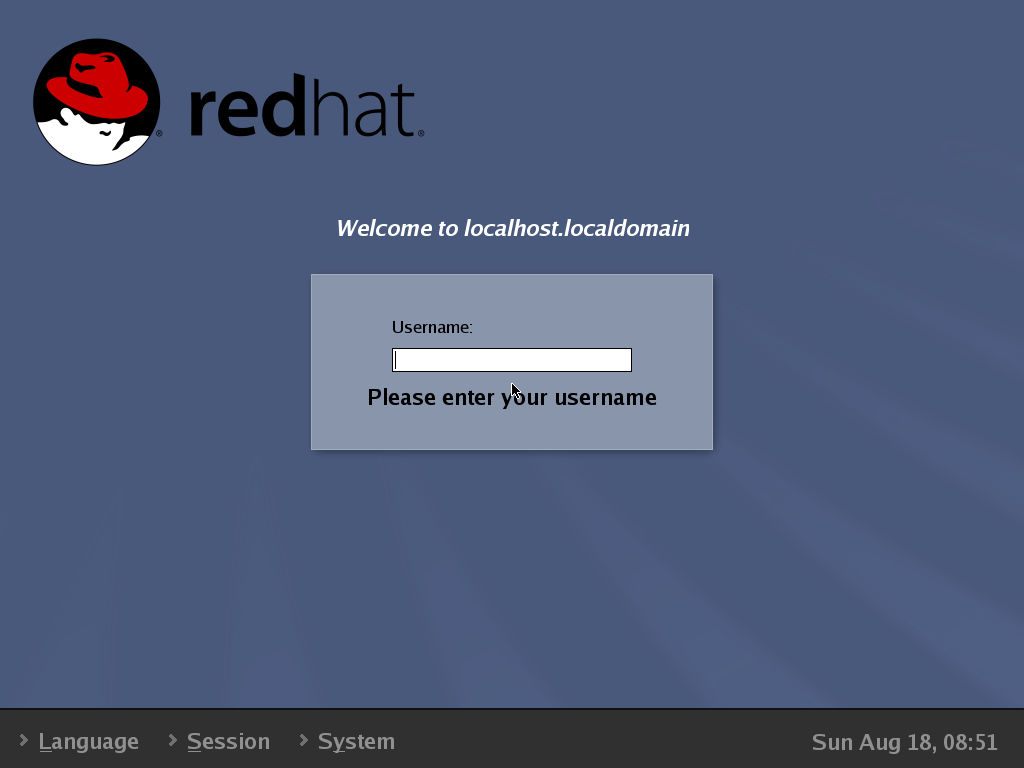
The login screen.
Once the configuration was done, I was presented with the login screen, by changing the session to “KDE” I was able to boot into the familiar desktop I had been using on Slackware.
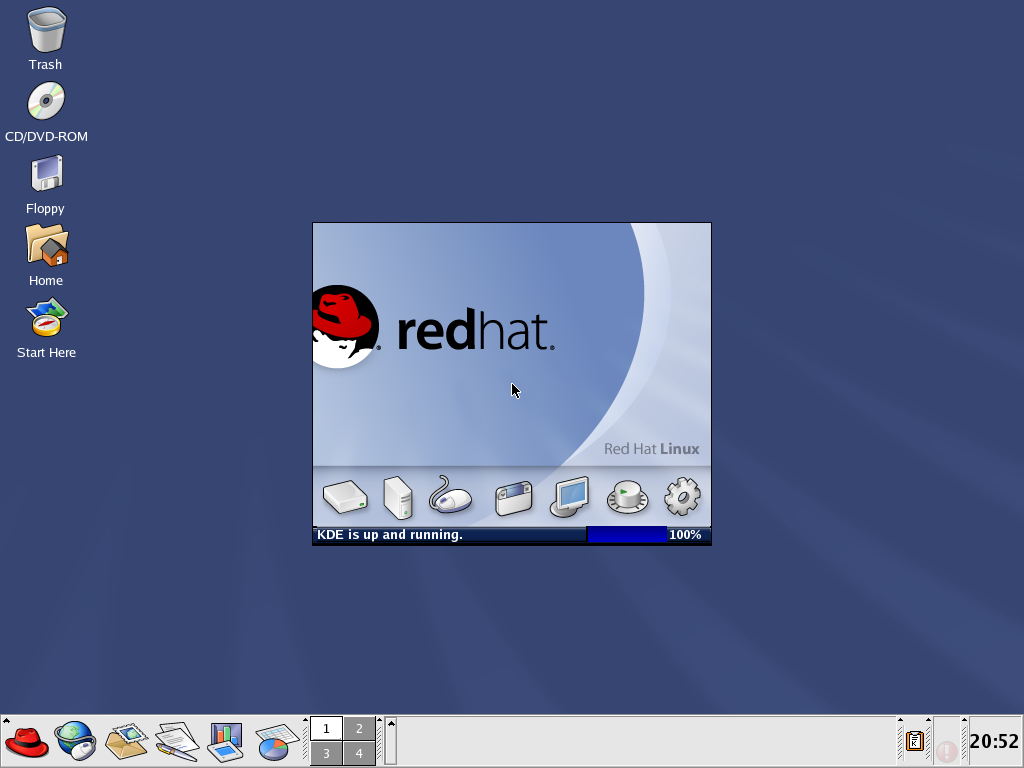
The KDE desktop, as modified by Red Hat.
One noticeable feature of the Bluecurve theme is that the KDE (or Gnome) menu icon has been replaced with a Fedora icon, the Red Hat logo.
Of course, there was still the obstacle of getting sound working. I kept getting told to install ALSA (Advanced Linux Sound Architecture), but all I could find was source code, so I had no idea how to install it. Eventually I found a guide on the ALSA Wiki. Sadly, I couldn’t get it to work on Red Hat which I later discovered was because I didn’t install any of the development tools. These were installed by default on Slackware, so I actually got sound working on Slackware first, but switched back to Red Hat after discovering this. Finally I was greeted with this sound every time I logged into KDE:
Now at this point, I’ll highlight a few of the applications that came bundled with this 11 year old system. Wanted to do some word processing? Red Hat 8.0 comes bundled with Open Office 1.0:
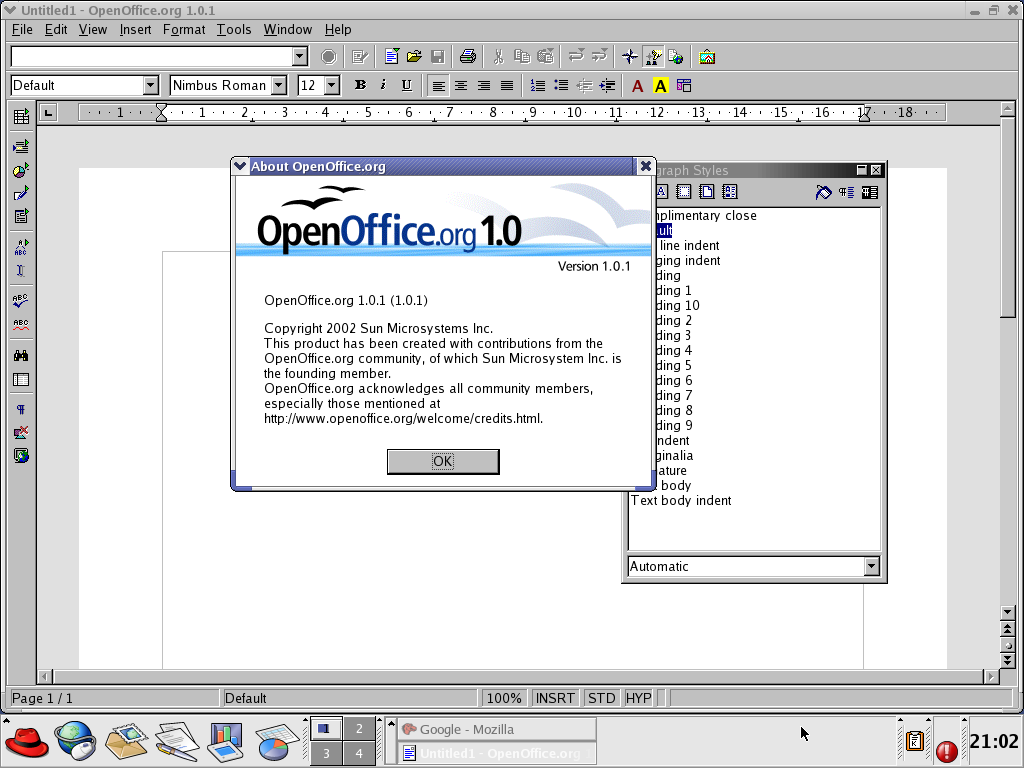
A really early copy of Open Office.org
When I was looking at Slackware, I showed the Mozilla Browser, again, this system came out before Firefox, but was bundled with a slightly newer version of Mozilla than Slackware did:
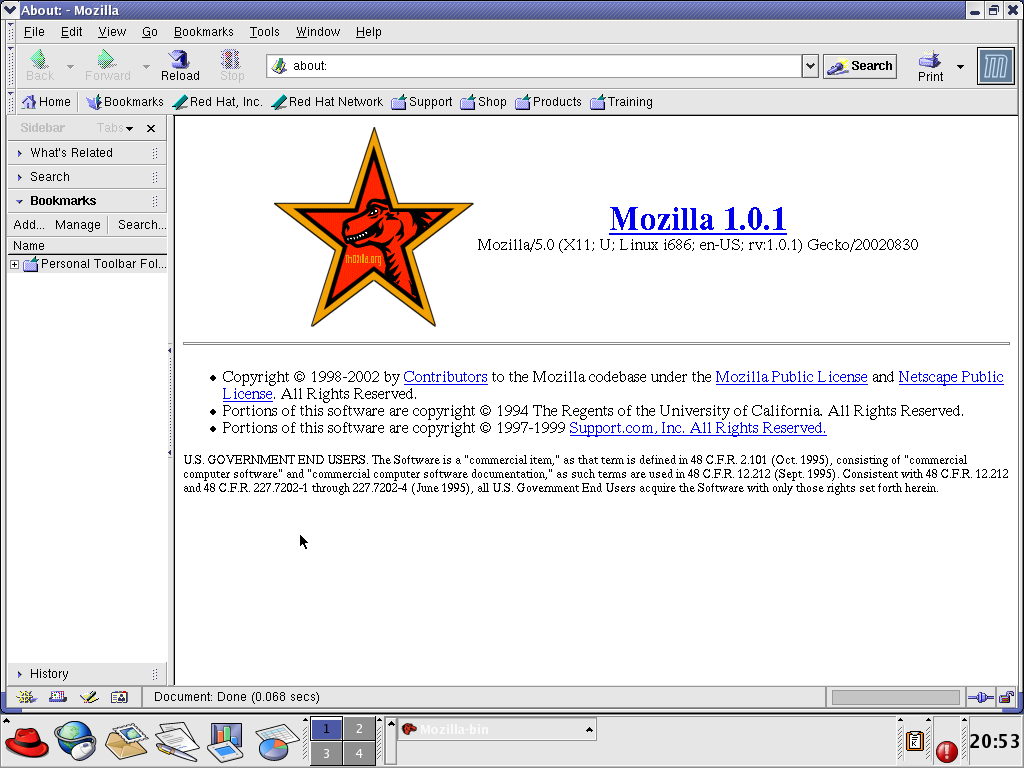
The Mozilla Browser.
Finally, a piece of software I still use today, a multi protocol instant messenger program called Pidgin. Back then it was known as Gaim, and was originally intended to be a Linux version of AIM (AOL Instant Messenger). The version bundled with Red Hat 8.0 is version 0.59.1, which only supports AIM, so I wouldn’t have been able to use it to talk to my friends on MSN, which wasn’t a problem as I never got the internet on Linux until 2005.
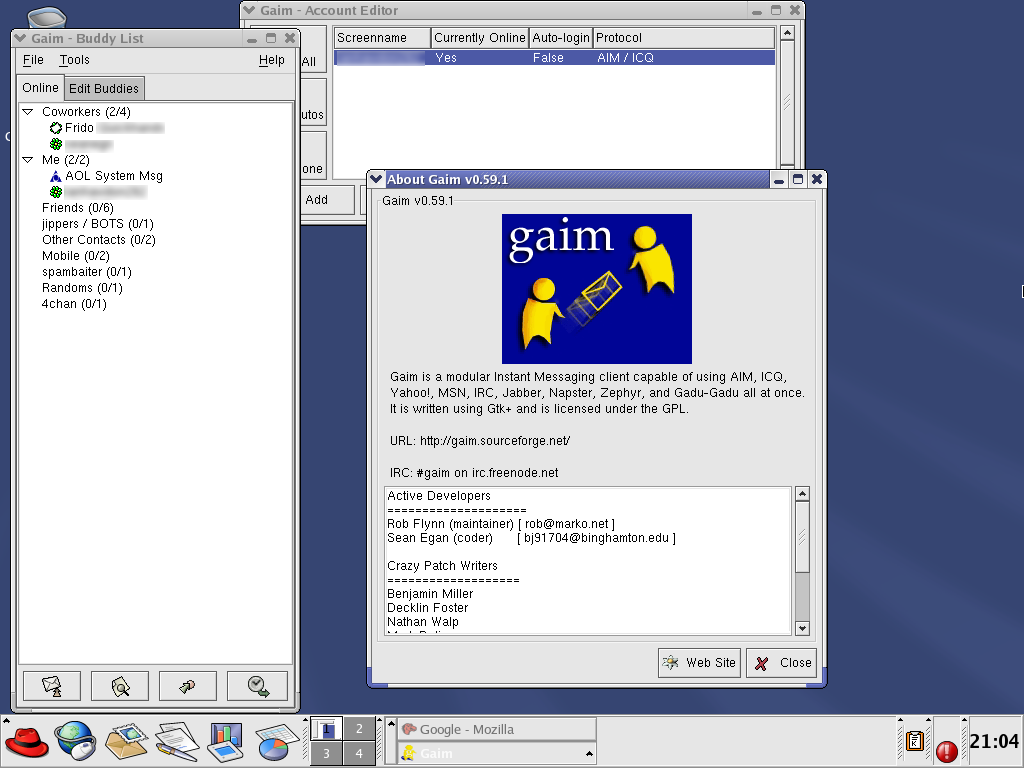
Gaim – later renamed to Pidgin.
What I find quite amazing is that even after 11 years, I’m still able to connect my AIM account using this considering how much most systems have changed in the last decade…. and on that bombshell, I’m going to end this post. Time to shutdown.
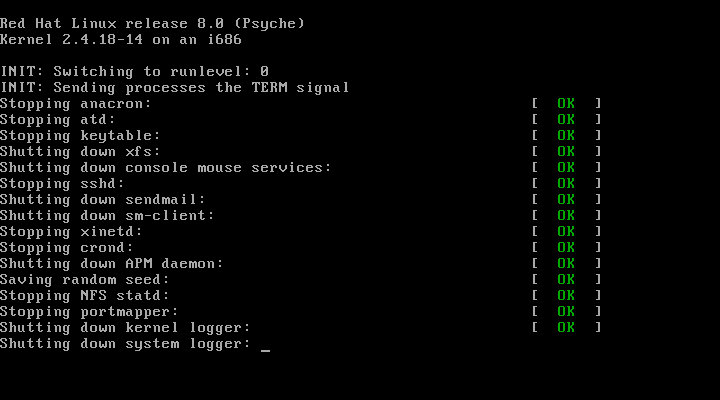
Shutting down Red Hat
In part 4, I’ll briefly talk about Red Hat 9 and Fedora Core 3, which was the first system I got connected to the Internet as well as my first taste of 64-bit computing, and how Linux was beginning to become my primary operating system.
Cheers